Zoho Calendar Extension for Zoho Desk
The Zoho Calendar extension for Zoho Desk lets you attach calendar events to tickets with a simple click of a button. This way you can record your scheduled appointments for tickets like customer demonstrations, remote assistance sessions, site visits, etc. and sync them with Zoho Calendar. The extension also allows you to set up reminders, so you don't miss important events.
Key Features
- Create multiple events for the same ticket.
- Set up reminders, so you don't miss important events.
- Stay organized with access to monthly, weekly, and daily calendar views.
- Access the linked ticket from an event in your calendar.
Installing Zoho Calendar Extension
The Zoho Calendar extension can be installed from the Zoho Marketplace or from your Zoho Desk account.
- Log in to your Zoho Desk account with Administrator privileges.
- Click the Setup icon (
) in the top bar.
- Under Marketplace, click All.
- Search for 'Zoho Calendar' in the search bar on the right.
- Select the Zoho Calendar extension and click Install.
- On the Use of Personal Details window, click Continue.
- On the Confirm Installation window, select a portal from the Portal Name drop-down menu and then clickInstall.
- In the Zoho Calendar Installation Setup page, select the Profiles and Departments for which the extension appears.
- Agree to the Terms of Use and click Install.
- Click Authorize and select the portal in which you want to install the extension.
- Authorize your Zoho account by clicking Authorize in the pop-up.
Once the extension has been installed successfully, it can be accessed from the right panel of the tickets detail page.
Accessing the Extension
To access the extension from the right panel:
- Click the Marketplace icon (
) in the right panel of the tickets detail page.
- The Zoho Calendar widget will be displayed in the right panel.
- The Create Event tab allows you to create events and Events tab lists all the events associated with the ticket.
When you access the extension from the right panel, you can do the following:
- Create an event
- View the list of events associated with a ticket
- Edit an event
- Delete an event
Creating an Event
To create an event:
- Click the Create Event tab.
- Provide Title, Description, Date, Time, Location, and Color details.
Title and Date are mandatory. - Enable the Reminder option for the event.
- Select the reminder time and mode from the slots.
- Click Create.
Notes:
- The events are added to the primary calendar which mostly happens to be after your name.
- When an event is created from a ticket, it will be associated with that ticket.
Viewing, Editing and Deleting an Event
To view, edit or delete calendar events from inside tickets:
- Click the Events tab.
All the events associated with the ticket will be listed. - Hover over the event. Icons to edit and delete will pop up.
- Click (
) icon to edit an event.
Make the required changes to your event and then click Save. - Click (
) icon to delete an event.
The event will be deleted from your calendar instantaneously.
Accessing Events in Zoho Calendar
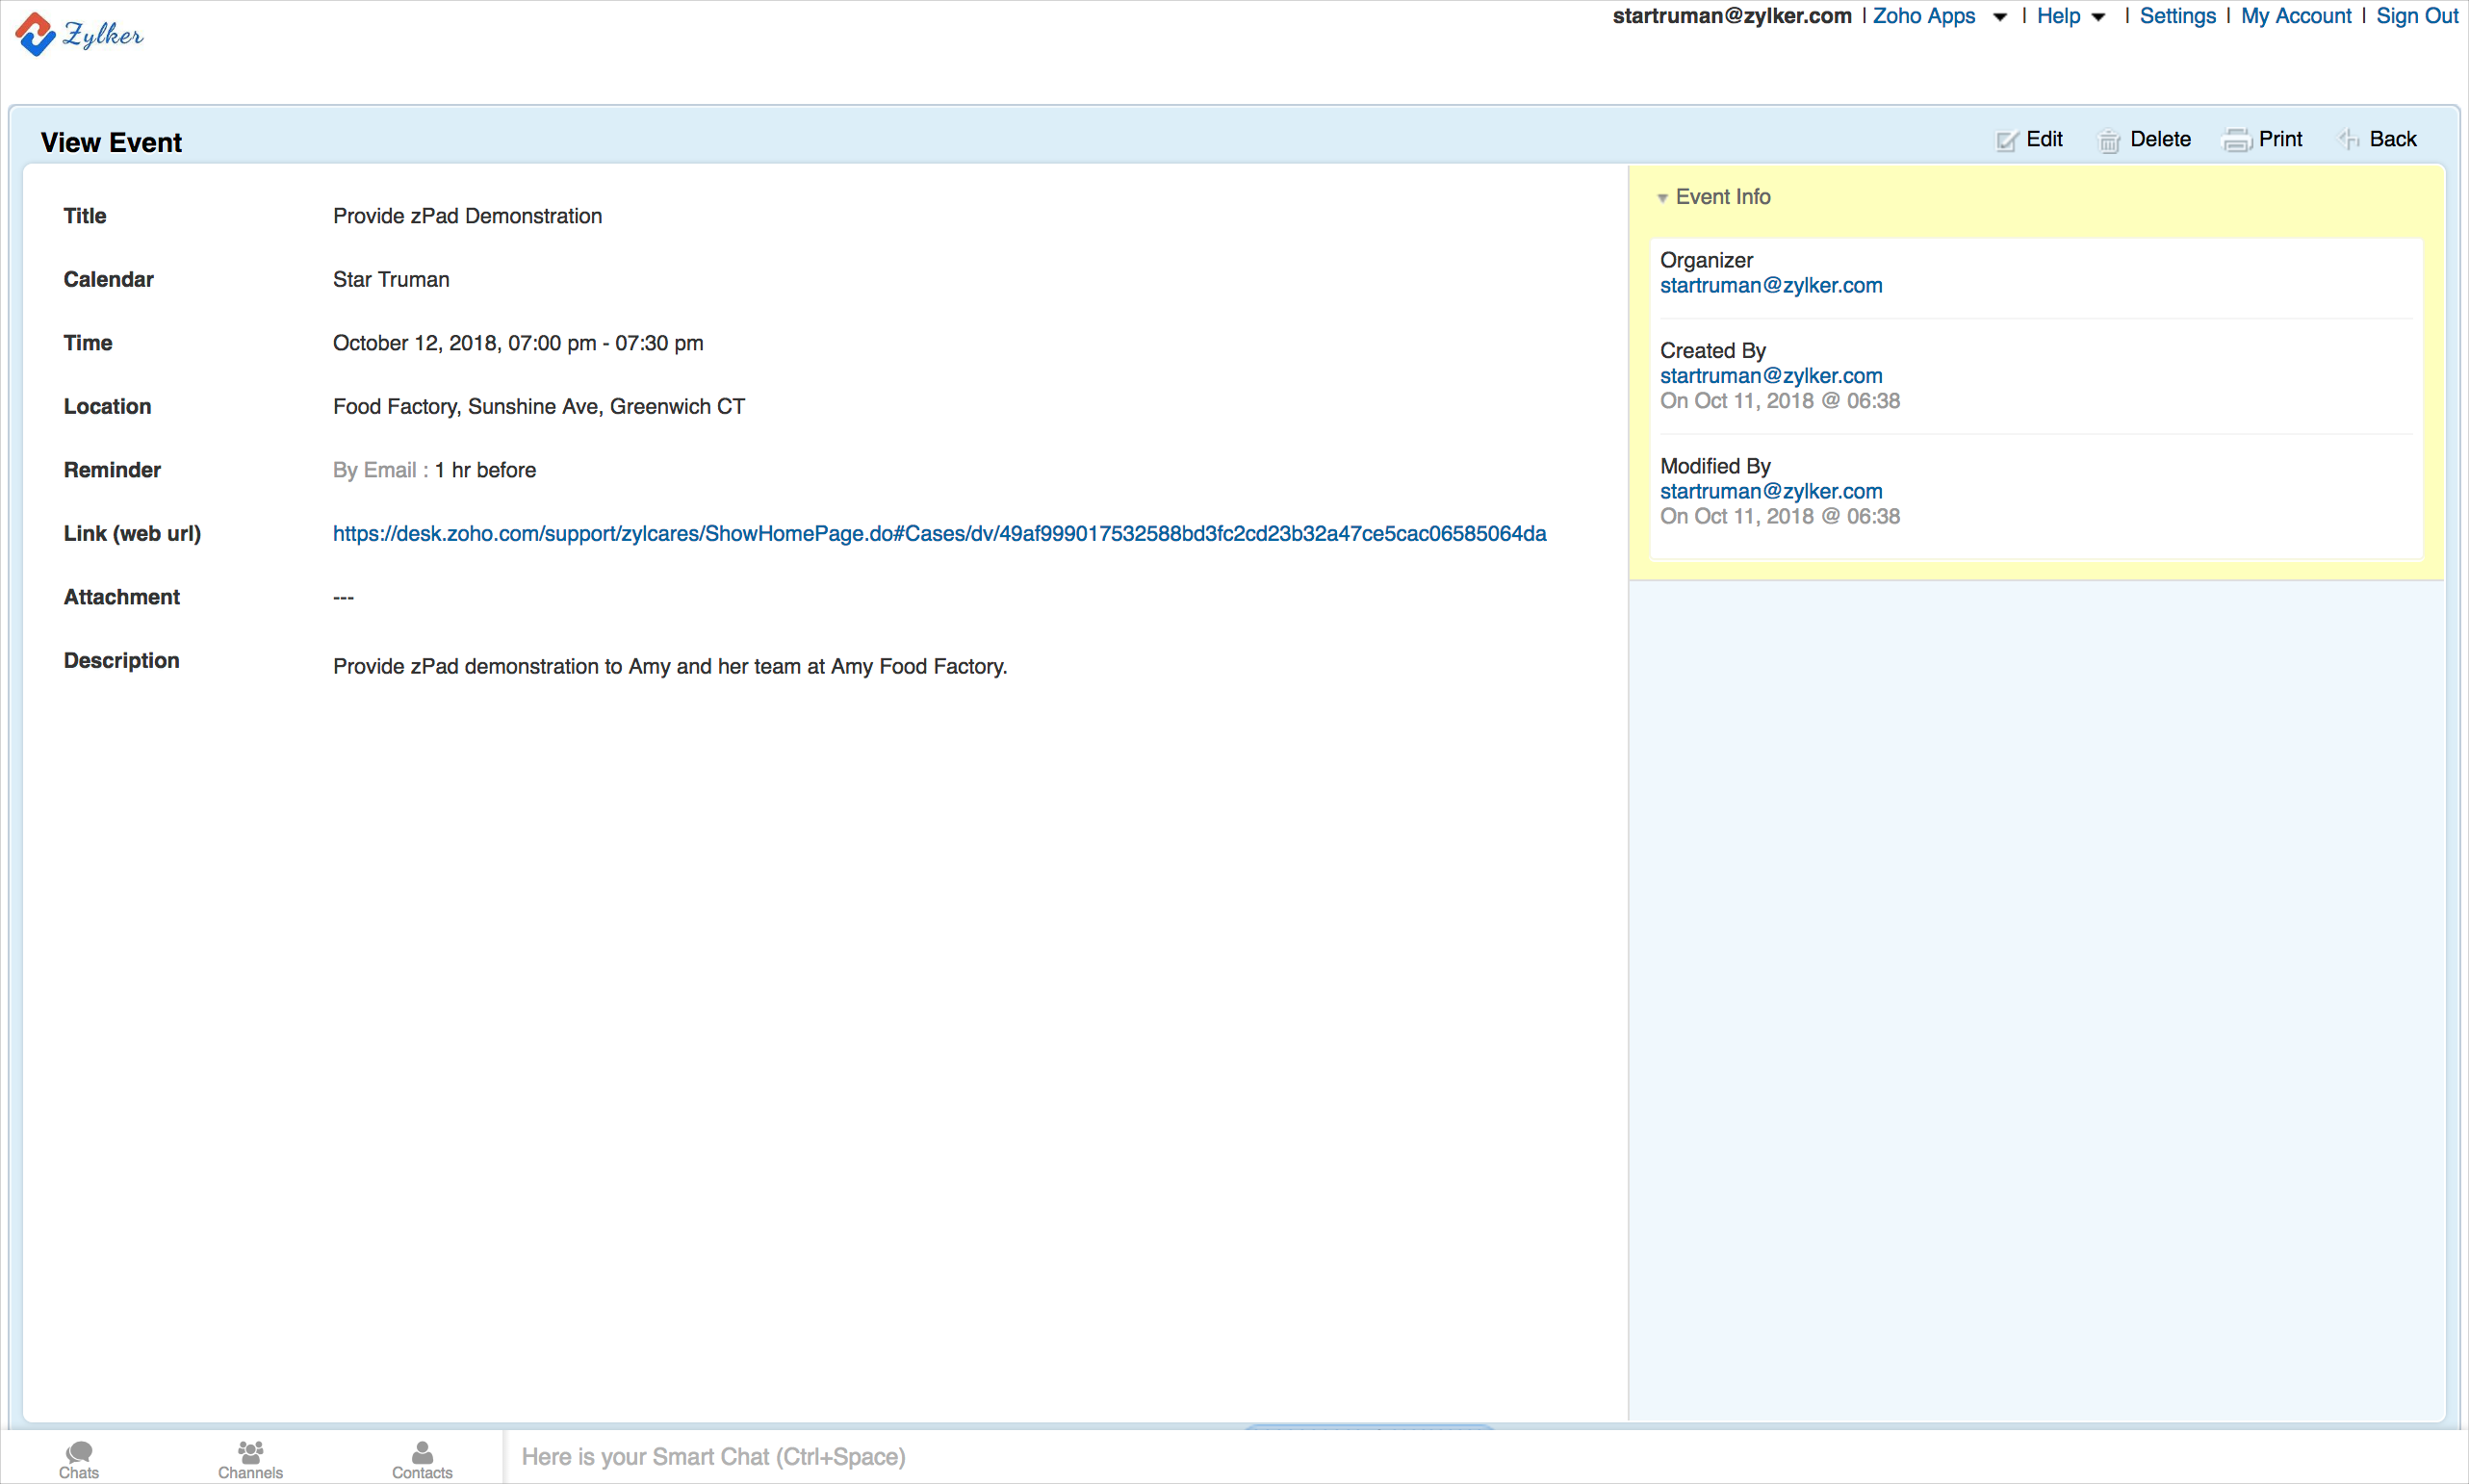
You can view the events attached to tickets in your Zoho Calendar account. Just click View on a calendar event to view its details. On opening the event, you will see a link to the ticket for which the event was created. You can click on the link to view the details of the ticket.
Uninstalling the Extension
To uninstall the Zoho Calendar extension:
- Click the Setup icon (
- Click All under Marketplace.
- Click Installed Extensions.
- Choose Zoho Calendar from the list of extensions.
- Click the More icon (
) at the upper-right corner of the Zoho Calendar extension setup page.
- Select Uninstall Extension.
- Click Confirm.
Related Articles
Google Calendar Extension for Zoho Desk
The Google Calendar extension for Zoho Desk lets you create calendars and events in Zoho Desk and sync them with Google Calendar. You can now schedule, edit, or cancel events in Google Calendar from Zoho Desk. This extension also lets you set ...GoToMeeting Extension for Zoho Desk
GoToMeeting helps you meet your team members and customers through online meetings and conferences. The GoToMeeting extension for Zoho Desk helps you schedule meetings, view upcoming meetings, and join meetings from Zoho Desk. You can also send ...Checklist Extension for Zoho Desk
By making a to-do list, you can prioritize your tasks and work in an orderly fashion. Once you build a to-do list, you can set aside time for each task. Checklist is one of the best tools to help you do this. This extension brings in the ...Zoho Vault Extension for Zoho Desk
Zoho Vault is an online password manager for teams. If you are struggling with remembering numerous passwords, Zoho Vault can keep them safe for you. It helps to store, share, and manage your passwords from anywhere. It is an absolute must for teams ...Ticket Insights Extension for Zoho Desk
Customer support tickets comprise multiple components like conversations, tasks, and approvals. Usually, this information is scattered and must be gathered from different tabs and views on a ticket, taking up time. The Ticket Insights extension for ...